How to Draw Hair: A Comprehensive Guide for Artists
Table Of Content

To begin, lightly sketch the basic shape of the hairstyle you want to draw. Use simple shapes like ovals or rectangles to define the overall structure. This step will serve as a foundation for the rest of your drawing.
Step 2: Define the hair shape
Gradually darken the overall drawing until you create a good balance between the various areas of the hair. Be sure to keep the strokes in the light and mid tone ares visible by leaving some distance between them. After you draw the hair strands, use Terra Cotta to give it a reddish shine. Leave a band of light in the protruding areas so the hair looks curved and wavy.
Related Articles
Add some loose small, and long hairs with your mechanical pencil for an extra touch of realism and fluidity. Again, with your mechanical pencil or your 4B pencil, mark the hairline position very softly. Hair is so different from each other that using the same technique for every type of hair would be impossible. Each type needs its own technique, and some are easier and simpler while others take a long time to do. On the other hand, straight hair has serene, calm, simple and maybe elegant lines. Try to follow your intuition when drawing shadows and highlights for hair.
‘A Black Lady Sketch Show’ Is a Cavalcade and Celebration of Black Hair - Hollywood Reporter
‘A Black Lady Sketch Show’ Is a Cavalcade and Celebration of Black Hair.
Posted: Fri, 10 Jun 2022 07:00:00 GMT [source]
Realistic Hair Drawing in just 9 Easy Steps!
One of the crucial aspects of drawing hair is observing and understanding different hair types and textures. Hair can vary greatly, ranging from straight to wavy, curly, or even afro-textured. To do this, move your pencil to the hair part and draw several lines in the direction of where the hair grows. These lines can vary in length, from long to short, just so long as they follow the hairstyle. Another way that people customize their hairstyles is by adding small accessories. These could include anything from fun hair clips to Alice bands and other simple accessories.
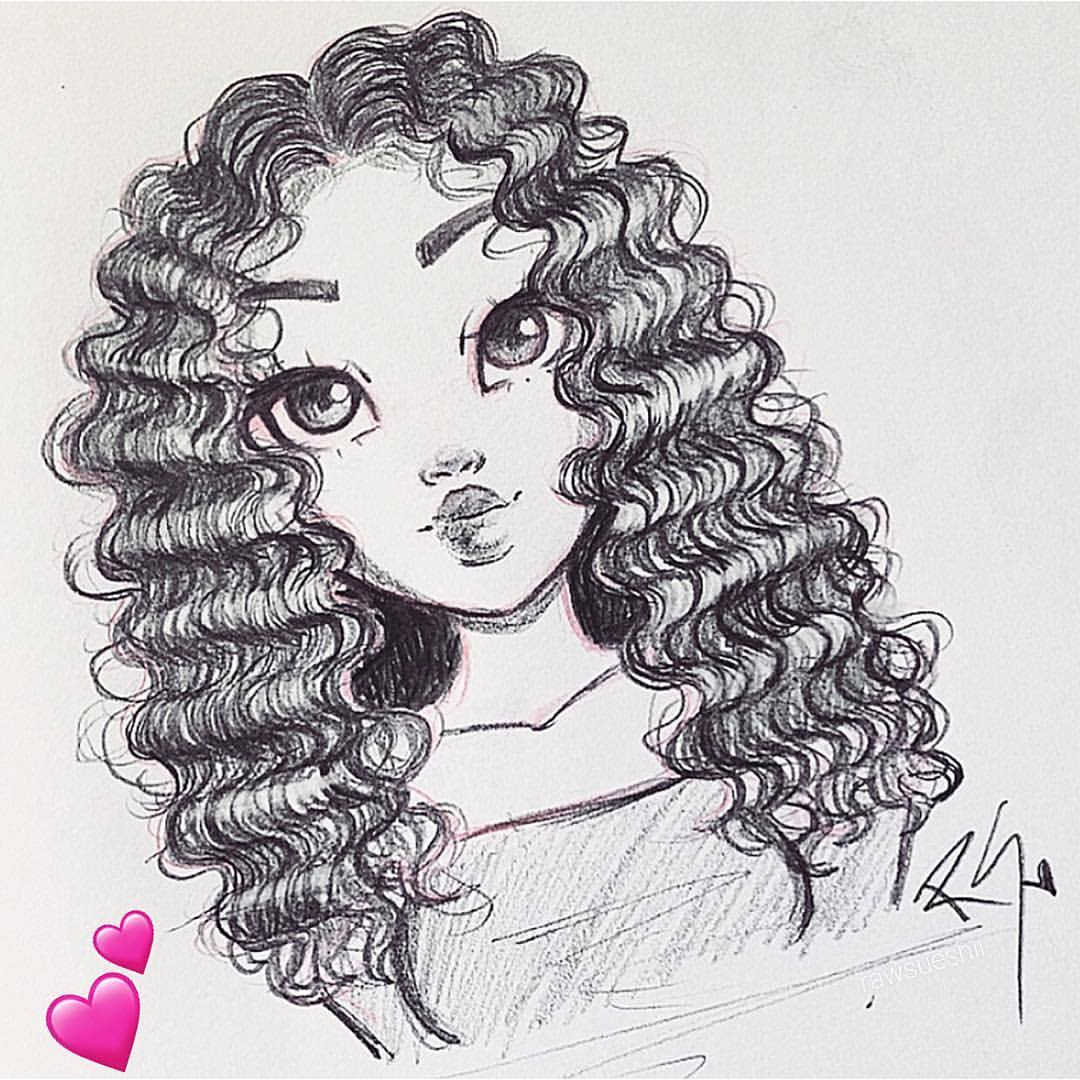
Divide this hairstyle into several curly locks of hair by drawing the same bouncy line as before as many times as needed. Draw some strands on the side, too, to add some texture. Don't draw them as simple straight lines, but rather as narrow "Y" shapes (normal and upside down). Not only that, but you can also elevate the hairstyle by adding jewelry around the hair itself. This could go on the ears, neck and face of the person featured in this realistic hair sketch.
Close the shape of each strand by mirroring its wave and adding a pointed tip. In this case it will also be the outline of the whole haircut. In this lesson I'll show you three simple ways to approach hair that will make your cartoons look far more professional. Add in the smallest sets of hair splits, folds and clumps to finish the line drawing. Erase the hairline and parts of the head covered by the hair once done. Same as the previous example begin by making an outline drawing of the head.
The best way to make the process of learning how to draw realistic hair easier is by preparing properly for it. The curves and waves of the hair were done with long, curved pencil strokes. The blue and orange tones were added on top with a burnished approach. Then, blend the drawing with a stump or tortillion.
Each style includes step by step drawing examples and explanations. Then, use long, curved pencil strokes to create the shapes of the curls. It has to do a lot with the shape of the head and the position and type of hairline. Before you start coloring in your drawing, we shall add some final details in this step of our guide on how to draw realistic hair. For this part of your realistic hair drawing, simply keep drawing more thin lines to the upper right section of the hairstyle. Lightly draw the shapes of the hairline, ear and overall shape of the hair with mechanical pencil.
Now that we have a quick lesson on drawing hair in graphite under our belt, let’s learn a few tips for drawing hair with colored pencil. Make sure to fill it all and to make some of the curls noticeable outside of the hair shape. To enhance your hair drawing skills, take the time to study and collect references of different hairstyles, haircuts, and hair arrangements. Over top of the drawing of the head add an outline of the main shape/shapes of the hair.
And when I draw it, I like to give it a prickly, pointy, rough appearance. I followed all these criteria to brush up my character and then I added the necessary amount of detail while keeping it simple. • I added some texture, following the direction of the curves.
Try and make the shading strokes in a way where they flow along the different hair clumps and folds. Also try and keep your strokes somewhat visible (don’t blend them too much) to create an effect of individual hairs as you shade. The main goal of this step is to apply an initial layer of shading that will define the light, medium and dark areas of the hair. Gradually add in the smaller folds and clumps of the hair to better define it’s shape. You can erase parts of the outline from the previous step where needed. The other styles have shortened instructions to avoid repetition.
In the following sections, we are going to use two shading techniques for the two types of hair we’ll be exploring. If you can, draw your own head base, but if what you’re looking for is pracrice, you can printe the one we have right here and draw on top of it. Hair can represent social status, gender, ethnicity, and other features that are important to people. It is worn in different styles, colors, lengths, and textures.


Comments
Post a Comment